Generate a Letter
1. Within the patient's record,
locate and click  to
call the Consult panel.
to
call the Consult panel.
2. Within
the Consult panel, locate and click 
o It
may be necessary to click  to reveal the Letter Writer button.
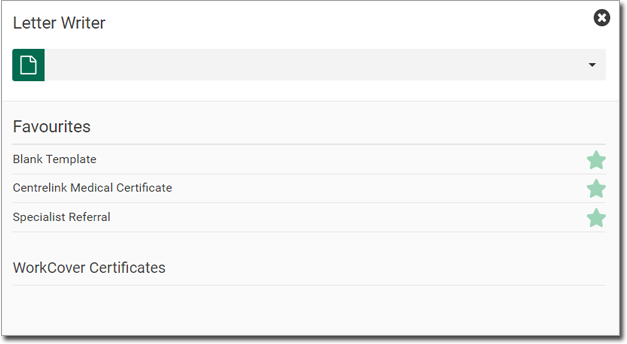
3. The
Letter Writer panel appears.
You are presented with a list of favourites (if you have created
one), and WorkCover Certificates.
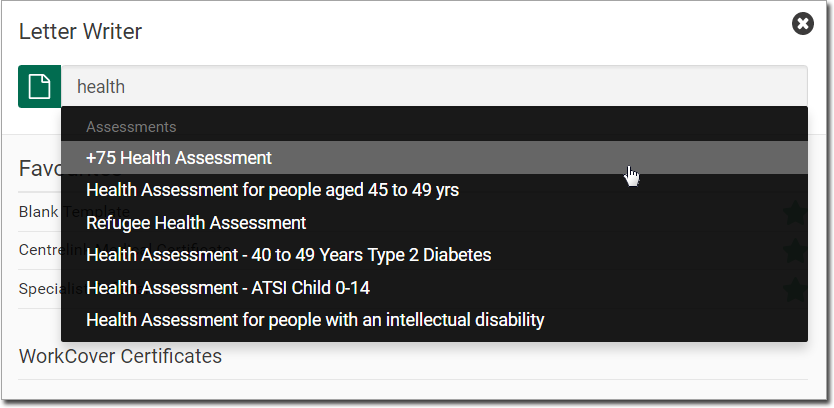
4. To
search for a letter that is not in the favourites list, type within
the field provided. A list of letters is displayed, generated
dynamically. See also Supplied
Templates.
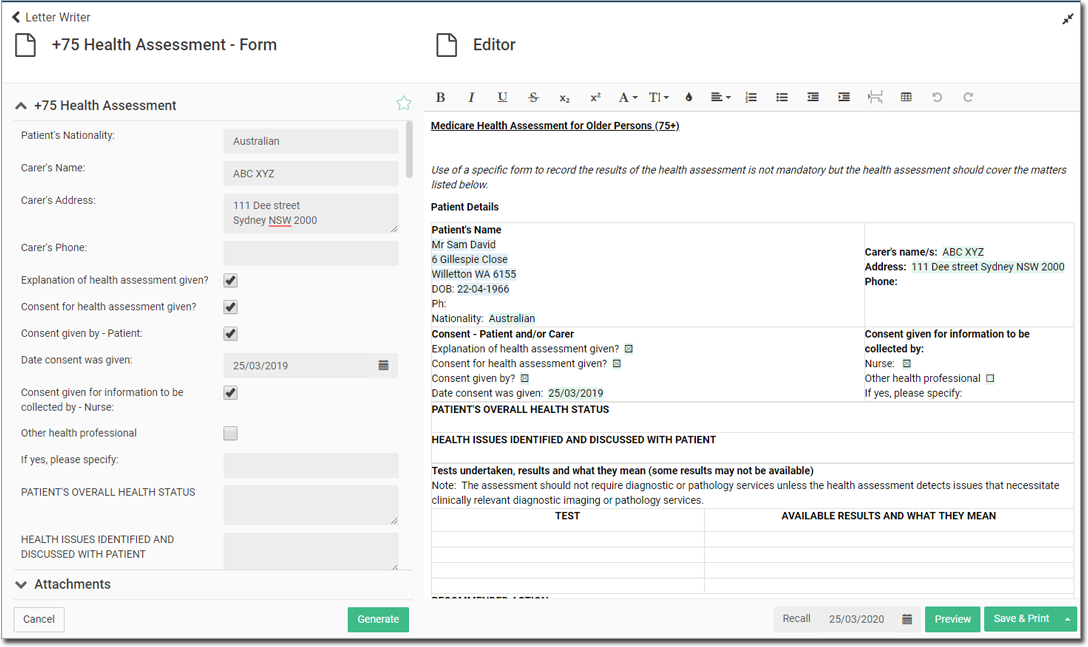
5. Select the required letter. In our example, we have chosen the +75 Health Assessment.
o In
this example, you can see a variety of fields awaiting your input.
Data you enter here is transferred to the final letter upon completion.

6. Optionally
click  (located at the
upper-right) to expand the letter, displaying both the fields
and the resulting layout.
(located at the
upper-right) to expand the letter, displaying both the fields
and the resulting layout.
o Some
layouts are editable.
7. Complete the form as desired.
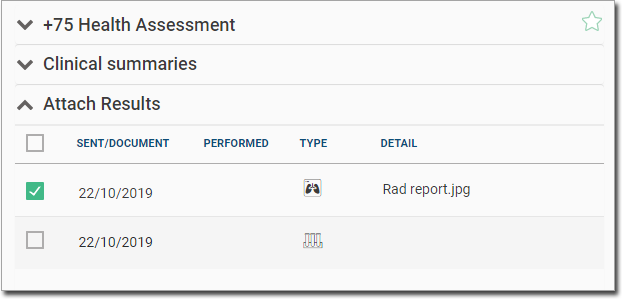
8. To
include attachments about the patient's clinical record, click
 (located at bottom-left of the form panel).
The Attachments section will expand, allowing you to indicate
the patient data you wish to include with the letter.
(located at bottom-left of the form panel).
The Attachments section will expand, allowing you to indicate
the patient data you wish to include with the letter.
9. Once
you have completed the form data, click  The information you entered into the form is transferred to the
letter preview i.e. the letter is 'generated'.
The information you entered into the form is transferred to the
letter preview i.e. the letter is 'generated'.
o If
the letter is editable, make manual changes as desired by typing
within the body of the letter, or by using the toolbar. Hover
you mouse over each tool for an explanation of its purpose.

10. From here you can...
Add this letter to your list of favourites. |
|
|
Cancel the selected Letter, and
close the Letter Writer panel. If what you really wanted
to do was go back to the list of letters, click |
|
Add a recall for this patient in regards to this letter. |
|
Generates a print preview of the letter. |
|
Saves a draft of the letter for completing later. Drafts are added to the top of your Letter Writer panel.
|
|
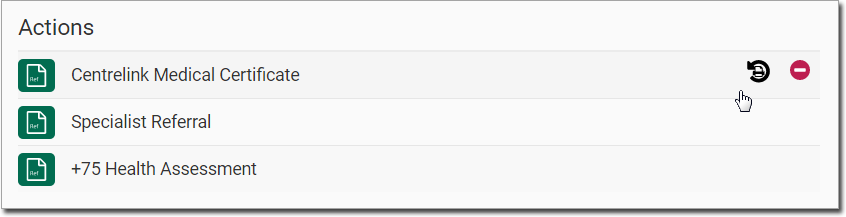
Save the completed letter to the Actions section of the Consult panel, and print it.
|


 instead.


11. Once you preview the generated letter, the patient details (patients name and DOB) along with the page numbers are available at the footer section of the letter. This helps to easily identify the related pages of the letter and send them together while printed.
o Note: This feature is available only for templates in HTML Format.

Generate a WorkCover Certificate
1. Within
the patient's record, locate and click
to call the Consult
panel.
2. Within
the Consult panel, locate and click
o It
may be necessary to click to reveal the Letter Writer button.
The Letter Writer panel appears.
You are presented with a list of favourites (if you have created
one), and WorkCover Certificates.
3. Select
WorkCover Certificates
from the list. The WorkCover
panel opens. A list of available work cover claims for the patient
is displayed.

4. Select the State/Territory in which the injury occurred. Depending on the chosen location, the following certificate stage options are displayed:
o Initial
o Progress
o Final
5. Click
 to commence the Certificate.
6. Optionally
click (located at the
upper-right) to expand the letter, displaying the fields and the
resulting layout.

7. Complete the form as desired.
8. To
include attachments about the patient's clinical record, click
(located at bottom-left of the form panel).
The Attachments section
will expand, allowing you to indicate the patient data you wish
to include with the letter.

9. Once
you have completed the form data, click .
The information you entered into the form is transferred to the
certificate preview i.e. the certificate is 'generated'.
10. From here you can...
|
Cancel
the selected certificate, and close the WorkCover
Certificate panel. If what you really wanted to
do was go back to the list of certificates, click |
|
Saves a draft of the certificate for completing later. Drafts are added to the top of your Letter Writer panel.
|
|
Save the completed letter to the Actions section of the Consult panel, and print it.
|


Letters in the Timeline
In the Timeline;
o Primary
letters (such as specialist referrals) are displayed under Specialist

o Secondary
letters are displayed under Other
Out

Click on a letter to view it:
 |
|
Display previous item from patient's Timeline. |
|
Display next item from patient's Timeline. |
|
|
Reprint the selected document. |
|
|
Previous page (of a multi-page document). |
|
|
Next page (of a multi-page document). |
|
|
Fit to width. |
|
|
Fit page. |
|
|
Set zoom. |


